Installing a freestanding tub on a concrete slab can transform your bathroom into a spa-like retreat. While seemingly daunting, this task is manageable with the proper preparation and steps. Freestanding tubs offer flexibility in placement and add an elegant touch to any bathroom design.
Top Freestanding Tubs in 2024
- Rank #1 – WOODBRIDGE 59″ Acrylic Freestanding Bathtub Contemporary Soaking Tub
- Rank #2 – GETPRO Free Standing Tub 59″ Acrylic Freestanding Bathtub
- Rank #3 – WOODBRIDGE Freestanding Bathtub
Choosing the Right Tub
Installing a freestanding tub on a concrete slab is an exciting project. It can transform your bathroom into a spa-like retreat. Before you start, it’s crucial to choose the right tub. This decision shapes the look, feel, and comfort of your bathroom. Let’s dive into the essential steps of picking the perfect tub for your space.
[toc]
Consider the Size and Style
The size and style of your freestanding tub are vital. You want a tub that fits well in your bathroom and matches your taste. Start by measuring your space. Ensure there’s enough room for the tub and extra space to move around. Here’s what to think about:
- Length and width: Will it allow for comfortable bathing?
- Height: Can you step in and out safely?
- Shape: Do you prefer oval, rectangular, or another shape?
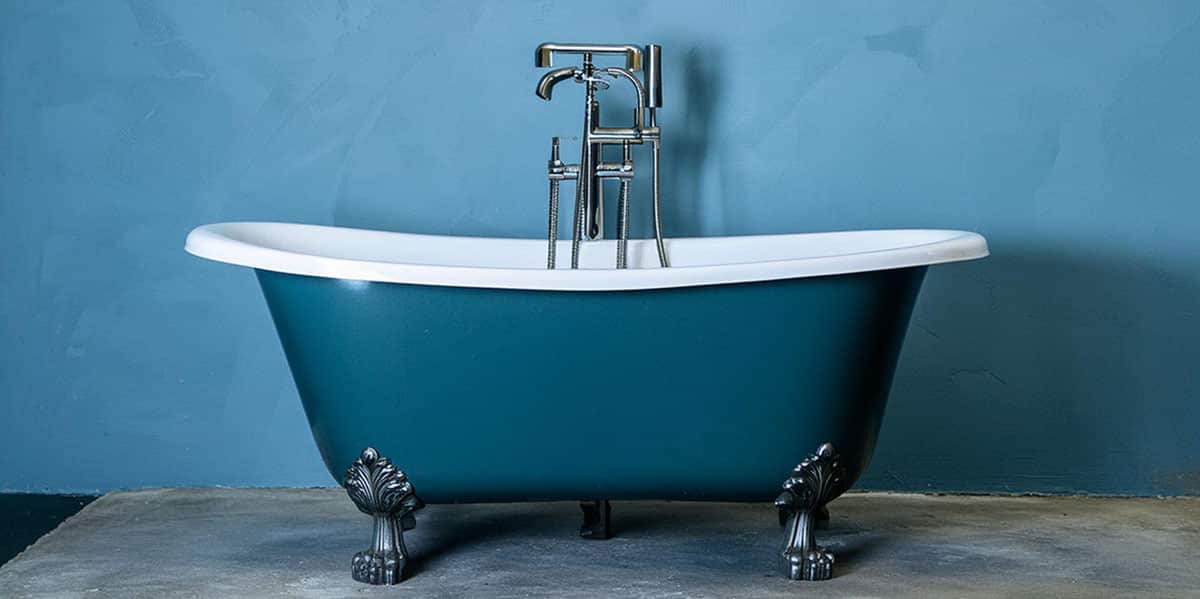
Style is also key. It sets the mood for your bathroom. A classic clawfoot tub might suit a vintage style, while a sleek, modern design works well in contemporary spaces. Think about colour and finish, too.
| Style | Description | Best for |
|---|---|---|
| Clawfoot | Traditional with elegant feet | Classic bathrooms |
| Modern | Sleek with clean lines | Contemporary spaces |
| Pedestal | Base instead of feet | Any decor |
Selecting the Material
The material of your freestanding tub affects its feel, weight, and upkeep. Consider the following options:
- Acrylic: Lightweight and retains heat well.
- Cast Iron: Durable and classic but very heavy.
- Stone Resin: A mix of natural stone and resin, it’s solid and insulating.
- Copper: Unique and striking, it’s a statement piece.
Think about maintenance, too. Some materials need more care than others. Acrylic is easy to clean but can scratch. Cast iron lasts ages but may require occasional re-enameling. Stone resin is tough and low-maintenance. Copper develops a patina over time, which you might love or prefer to polish away.
Here’s a quick guide to help you decide:
| Material | Pros | Cons | Maintenance |
|---|---|---|---|
| Acrylic | Light, warm | Heavy may chip | Easy with non-abrasive cleaners |
| Cast Iron | Classic, durable | Heavy, may chip | Occasional re-enameling |
| Stone Resin | Sturdy, retains heat | Heavy | Simple cleaning |
| Copper | Distinctive look | Heavy may chip | Polish to prevent patina |
Preparing the Concrete Slab
Installing a freestanding tub on a concrete slab can transform your bathroom into a spa-like retreat. Preparing the slab is a vital first step, ensuring a stable and secure fit for your new tub.
Checking the Levelness of the Slab
A level surface is crucial for your freestanding tub. An uneven slab can lead to drainage issues and a wobbly tub. Here’s how to ensure your slab is ready:
- Use a long level: Place a 4-foot level on the slab in various spots. This checks for dips and rises.
- Mark high and low spots: Use chalk to highlight areas that need attention.
For minor uneven areas, apply a self-leveling compound. Follow these steps:
- Mix the compound: Follow the manufacturer’s instructions.
- Apply to low areas: Pour the mixture onto marked spots.
- Let it set: Give it time to cure as per product guidelines.
If your slab has significant unevenness, consider these actions:
| Issue | Action |
|---|---|
| Large dips | Fill with concrete patching compound. |
| High spots | Grind down with a concrete grinder. |
Cleaning and Drying the Surface
A clean, dry surface ensures a strong bond with adhesives and sealants. Here’s how to prepare your slab:
- Sweep away debris: Remove dirt and loose particles with a broom.
- Scrub the surface: Use a concrete cleaner and a stiff brush.
- Rinse thoroughly: Wash away the cleaning solution with water.
- Dry the slab: Allow the surface to dry completely. This may take 24 hours or more.
For stubborn stains, consider these additional steps:
- Apply a degreaser: Use a concrete degreaser for oil or grease stains.
- Let it sit: Allow the degreaser to penetrate the stain.
- Scrub and rinse: Work on the stain with a brush and rinse off.
Remember, the cleaner the surface, the better the adhesion for your tub’s support materials. Once the surface is spotless and bone-dry, you can move on to the next installation steps.
Gathering the Necessary Tools and Materials
Installing a freestanding tub on a concrete slab is an exciting project. Before starting, you need the right tools and materials. This guide helps you prepare. With everything at hand, installation is smooth and swift. Let’s get you set up for success!
Tools Required
First, gather your tools. The right equipment makes the job easier and safer. Here’s what you’ll need:
- Measuring Tape: To measure the area where the tub will sit.
- Level: To ensure your tub sits perfectly flat.
- Pipe Wrench: For adjusting plumbing connections.
- Adjustable Wrench: To tighten or loosen nuts and bolts.
- Drill: Drill is used to make holes in the concrete if needed.
- Concrete Bits: These are to be used with the drill for concrete surfaces.
- Hacksaw: To cut through pipes if necessary.
- Hammer: For any nails or pegs in the process.
- Screwdriver Set: For various screw types you may encounter.
- Plumber’s Putty: To seal joints and prevent leaks.
- Silicone Sealant: This is for a waterproof seal around the tub.
Keep these tools within reach to avoid disruptions. Check your drill bits and wrench sizes before starting. This ensures they fit the screws and bolts you’ll work with.
Materials Needed
Now, focus on materials. Quality materials are vital for a lasting installation. Here’s your list:
- Freestanding Tub: The centerpiece of your project.
- Plumbing Supplies: Pipes, faucets, and waste fittings to match your tub.
- Concrete Anchors: To secure the tub to the slab if required.
- Mortar Mix: For creating a bed for the tub to sit in.
- Tile or Bath Mat: For the area around the tub to prevent slips.
- Waterproofing Membrane: To protect the concrete from moisture.
- Insulation Material: Optional for noise reduction and heat retention.
Ensure all plumbing supplies are compatible. Quality waterproofing prevents future problems. If your tub needs anchoring, use reliable concrete anchors. Insulation is a smart addition for comfort.
Positioning the Tub
Installing a freestanding tub on a concrete slab adds elegance to any bathroom. Positioning the tub is a critical step. It affects both the tub’s function and the room’s layout. Proper placement ensures easy access, optimal drainage, and a balanced look. Follow these steps to position your tub right where it should be.
Measuring and Marking the Placement
Start by deciding where the tub will sit. Consider the room’s design and the tub’s size. Use these tips for precise measurement and marking:
- Check the tub’s dimensions against the installation area to ensure a good fit.
- Gather tools like a tape measure, pencil, and contractor’s chalk.
- Mark the centre point of the tub’s location on the slab.
- From the centre, draw reference lines that match the tub’s length and width.
- Ensure there’s enough space around the tub for cleaning and maintenance.
Use this table to guide your placement:
| Measurement | Details |
|---|---|
| Length from Wall | Leave at least 6 inches from the wall for cleaning. |
| Width from Fixtures | Keep a minimum of 30 inches from other fixtures. |
| Drain Alignment | Center the tub over the drain for best results. |
Ensuring Proper Alignment
Proper alignment prevents water from pooling and makes the tub stable. Follow these steps:
- Place the tub gently onto the marked area.
- Use a level to check the tub’s rim. Make sure it’s even on all sides.
- If the tub isn’t level, adjust the legs or base until it is.
- Confirm the tub aligns with the drain correctly. The tub should sit flush on the slab.
- Recheck the spacing around the tub for symmetry and practicality.
Consider these alignment details:
| Aspect | Importance |
|---|---|
| Level Surface | Prevents water from standing and ensures comfort. |
| Drain Connection | Must be seamless to avoid leaks and damage. |
| Space Around Tub | Allows for easy cleaning and a balanced look. |
Securing the Tub in Place
Installing a freestanding tub on a concrete slab adds elegance to your bathroom. The key step is securing the tub in place to ensure safety and functionality. Proper installation avoids water damage and keeps the tub stable. Let’s dive into attaching the drain and overflow assembly and anchoring the tub to the slab.
Attaching the Drain and Overflow Assembly
First, gather your tools and the tub’s manual. Follow these steps to attach the drain and overflow assembly:
- Check the kit: Ensure all parts are present. You’ll need a drain, overflow cover, gaskets, and screws.
- Position the tub: Place the tub near the final spot. This helps you access the bottom easily.
- Install the gasket: Place the rubber gasket onto the overflow elbow. This prevents leaks.
- Connect the overflow: Align the overflow cover with the tub’s overflow opening. Secure it with screws.
- Attach the drain: Fix the drain to the tub’s bottom. Use a plumber’s putty for a watertight seal.
Anchoring the Tub to the Slab
Now, anchor your tub to the concrete slab to prevent movement. Here’s how:
- Position the tub: Move the tub to its designated spot. Make sure it’s level.
- Mark the holes: Most tubs have pre-drilled holes. Place them over the slab and mark where you need to drill.
- Drill the slab: Use a hammer drill with a masonry bit to create holes for the anchors.
- Insert anchors: Place the anchors into the holes. These will hold the tub’s feet or base in place.
- Secure the tub: Lower the tub onto the anchors. Tighten the bolts or screws to fix the tub to the slab.
Connecting the Plumbing
So, you’ve chosen a sleek, freestanding tub for your bathroom makeover. Great choice! A freestanding tub adds class and a spa-like feel to any space. Now, let’s focus on connecting the plumbing.
This step is key to ensuring your new tub not only looks good but works perfectly. You’ll need to install the faucet and fixtures before testing for leaks. Let’s dive into the details!
Installing the Faucet and Fixtures
Before starting, make sure you have all your tools and materials ready. You’ll need wrenches, plumber’s tape, and the faucet kit. Follow these steps:
- Position the tub on the concrete slab and mark where the faucet will go.
- Drill holes for the faucet. Be precise!
- Place the faucet through the holes.
- Secure the fixtures from underneath using the provided washers and nuts.
- Connect the water lines to the faucet. Use plumber’s tape to prevent leaks.
| Step | Action | Tools Needed |
|---|---|---|
| 1 | Mark faucet location | Pencil, Measuring tape |
| 2 | Drill holes for faucet | Drill, Drill bits |
| 3 | Insert and secure faucet | Wrench, Washers, Nuts |
| 4 | Connect water lines | Plumber’s tape, Wrench |
Take your time with each step. A stable faucet means a steady water flow for your tub. Now, let’s ensure there are no unwanted water surprises.
Testing for Leaks
After setting up the faucet and fixtures, it’s crucial to test for leaks. This can save you from future headaches. Here’s a simple guide to help you:
- Turn on the water supply to fill the tub slightly.
- Check every connection for drips or moisture.
- Look at the faucet and where it meets the tub.
- Inspect the drain and overflow for leaks.
- Use a dry cloth to feel the wetness around the connections.
If you find a leak, don’t worry. Just follow these steps:
- Tighten the connections where you see a leak. Use your wrench.
- Apply more plumber’s tape if needed.
- Re-test to make sure the issue is fixed.
Keep this checklist handy:
| Check | Area | Fix |
|---|---|---|
| 1 | Faucet base | Tighten or re-seal |
| 2 | Water line connections | Tighten and tape |
| 3 | Drain and overflow | Check and adjust |
Finishing Touches
After placing your beautiful freestanding tub on the concrete slab, it’s time for the finishing touches. These steps ensure a sleek look and prevent future problems. Let’s make sure your tub is set for a long, relaxing future!
Sealing the Gaps
Sealing the gaps is vital to protect your tub and flooring. Use a high-quality sealant designed for bathrooms. Follow these steps:
- Clean the area: Wipe the tub and floor with a damp cloth.
- Apply the sealant: Cut the sealant’s tip at a 45-degree angle. Run a steady bead along the gap.
- Smooth it out: Wet your finger and glide it over the sealant. This will press it into the gap and smooth the surface.
- Let it dry: Check the sealant’s label for drying times. It’s usually 24 hours.
Here’s a quick checklist to ensure you’ve got everything covered:
| Task | Description | Done |
|---|---|---|
| Clean | Remove dust and debris | ✓ |
| Apply Sealant | Seal all gaps | ✓ |
| Smooth | Ensure an even finish | ✓ |
| Dry | Wait for the sealant to set | ✓ |
Cleaning Up
With the sealant in place, it’s time to clean up. Tidy your workspace to keep it safe and neat. Follow these steps:
- Remove tools: Take away all tools and materials.
- Sweep up: Grab a broom and sweep the area clean.
- Mop the floor: Use a mop and mild cleaner to clean the concrete slab.
- Wipe the tub: With a soft cloth and non-abrasive cleaner, gently wipe the tub’s surface.
- Dispose of waste: Throw away any trash or debris in a proper bin.
- Check the tub: Do a final inspection of your tub and the sealant.
Keep these tips in mind for a spotless finish:
- Be gentle: Avoid harsh chemicals that can harm the tub’s surface.
- Stay organized: Keep your tools in order for future use.
- Recycle: If possible, recycle any unused materials.
Maintenance Tips
Once you’ve installed a freestanding tub on a concrete slab, keeping it in top shape is key. Regular maintenance will ensure your tub stays as stunning as the day it was installed. Let’s dive into some easy-to-follow tips that will help keep your tub looking new and working well.
Regular Cleaning and Inspection
Keeping your freestanding tub clean and inspecting it often are vital steps in maintenance. Follow these tips to maintain your tub’s sparkle:
- Use gentle cleaners: Harsh chemicals can damage the tub’s surface. Stick to mild, non-abrasive cleaning agents.
- Soft cloths are best: For wiping down the tub, use a soft cloth to avoid scratches.
- Rinse thoroughly: After cleaning, make sure to rinse away all cleaning products to prevent residue.
- Dry the tub: After each use, use a clean towel to dry your tub. This prevents water spots and mildew growth.
Regular inspections can catch small problems before they grow. Look for these signs:
| What to Check | Why It’s Important |
|---|---|
| Sealant and grout condition | Prevents leaks and water damage |
| Drainage efficiency | Ensures quick water exit, reducing residue buildup |
| Surface for cracks | Helps maintain tub integrity and appearance |
Addressing Any Issues Promptly
Spotting issues early can save time and money. Here’s what you should do:
- Fix leaks immediately: Leaks can lead to bigger problems like water damage. Seal any gaps as soon as they appear.
- Unclog drains quickly: A clogged drain can cause water to back up and damage the tub. Use a plunger or a plumber’s snake to clear blockages.
- Repair chips and scratches: Small surface damage can lead to rust or further chipping. Use a repair kit designed for your tub’s material.
- Check faucet function: Make sure all faucets and knobs work smoothly to prevent drips and leaks.
For more complex issues, don’t hesitate to contact a professional. Regular maintenance and prompt repair keep your freestanding tub in excellent condition for years to come.
Wrapping up
Installing a freestanding tub on a concrete slab can transform your bathroom into a spa-like retreat. By following the right steps, you ensure a stable and stylish setup. Remember, patience and precision are key. Embrace this DIY project to elevate your space, making it both luxurious and inviting.